
Choose Which Listings Authenticate Uses for Guest Verification
Checked listings automatically create a user and verification link for new reservations. Use Manage Listings to turn guest screening on or off for individual properties.
Prerequisites
- Your property management integration must be Active. If you see a Setup Guide link instead of the menu, connect your integration first.
- Wait for your properties to finish importing. A "Listings are currently being synced…" banner appears while this is in progress; your list may be incomplete until it disappears.
Steps to Manage Listings
-
Open Manage Listings
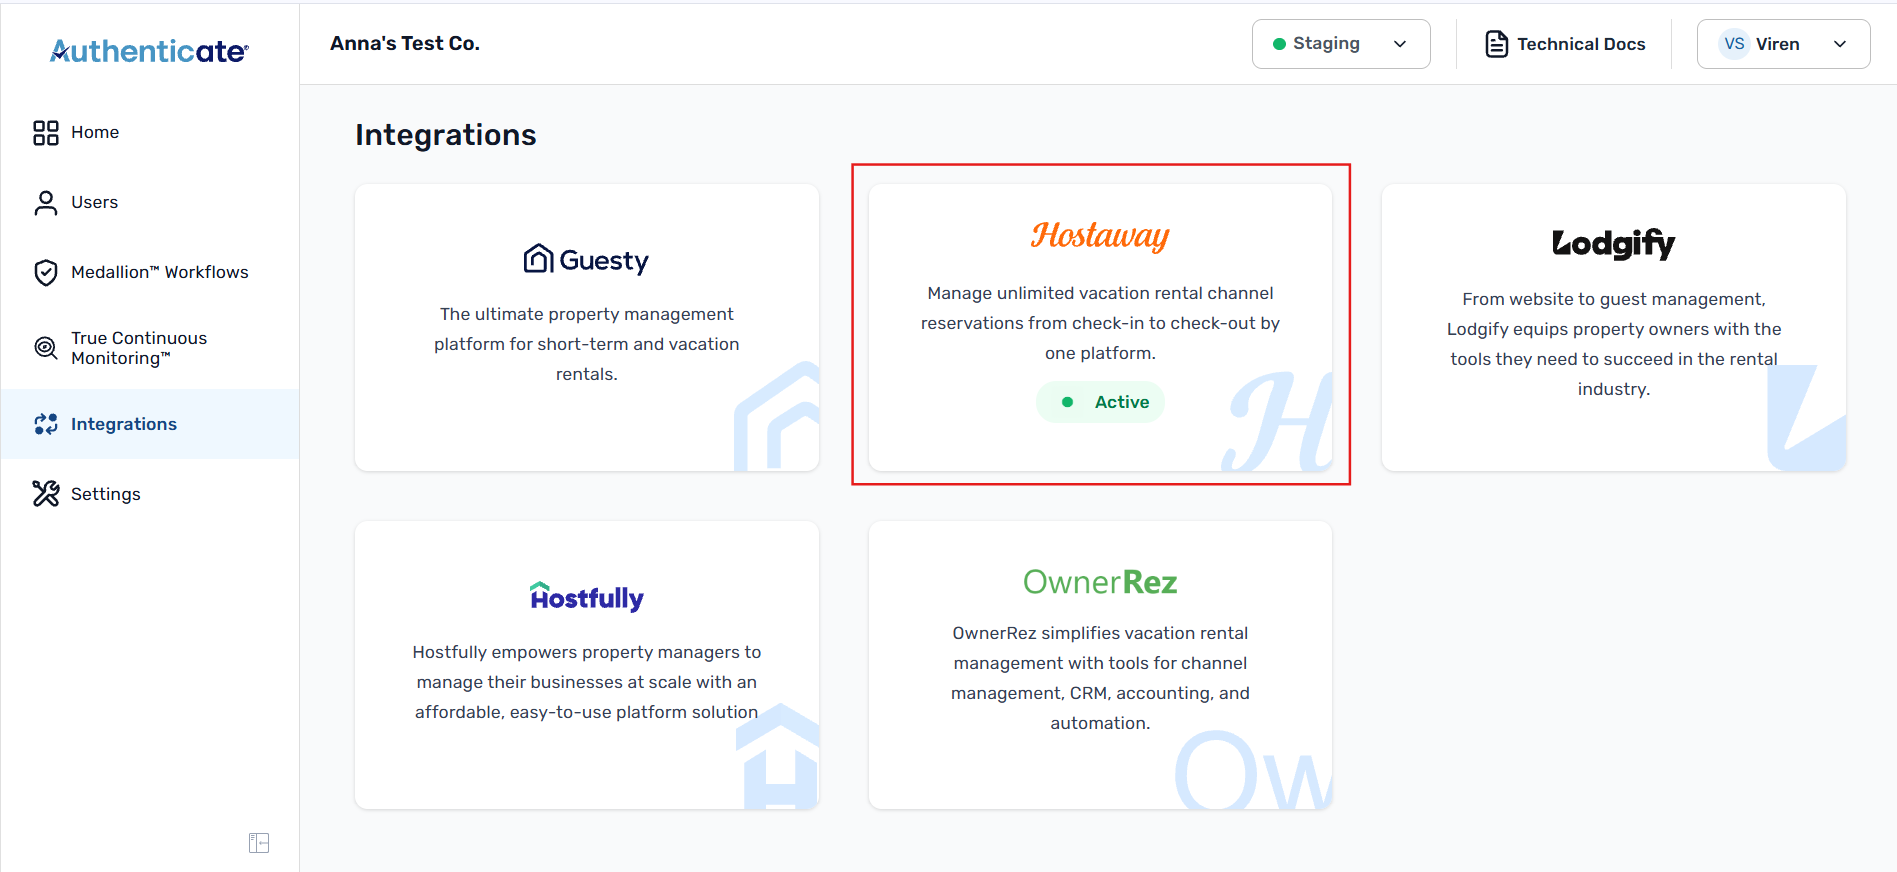
- Click Integrations in the sidebar and select your property management system.
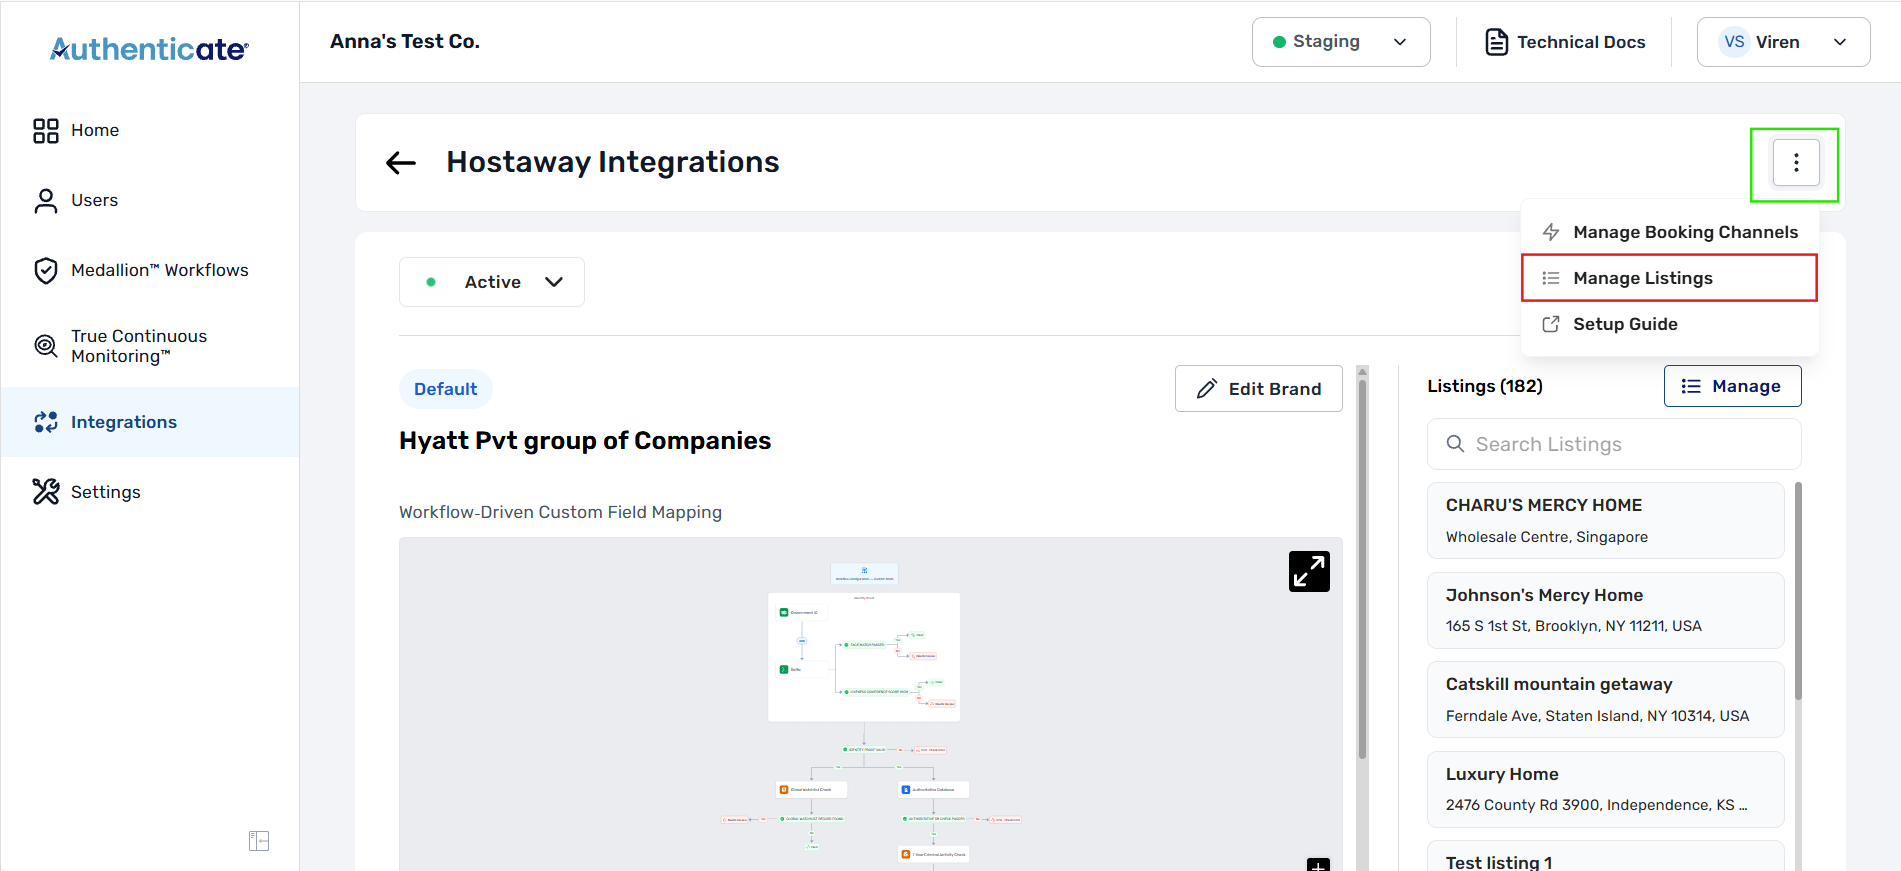
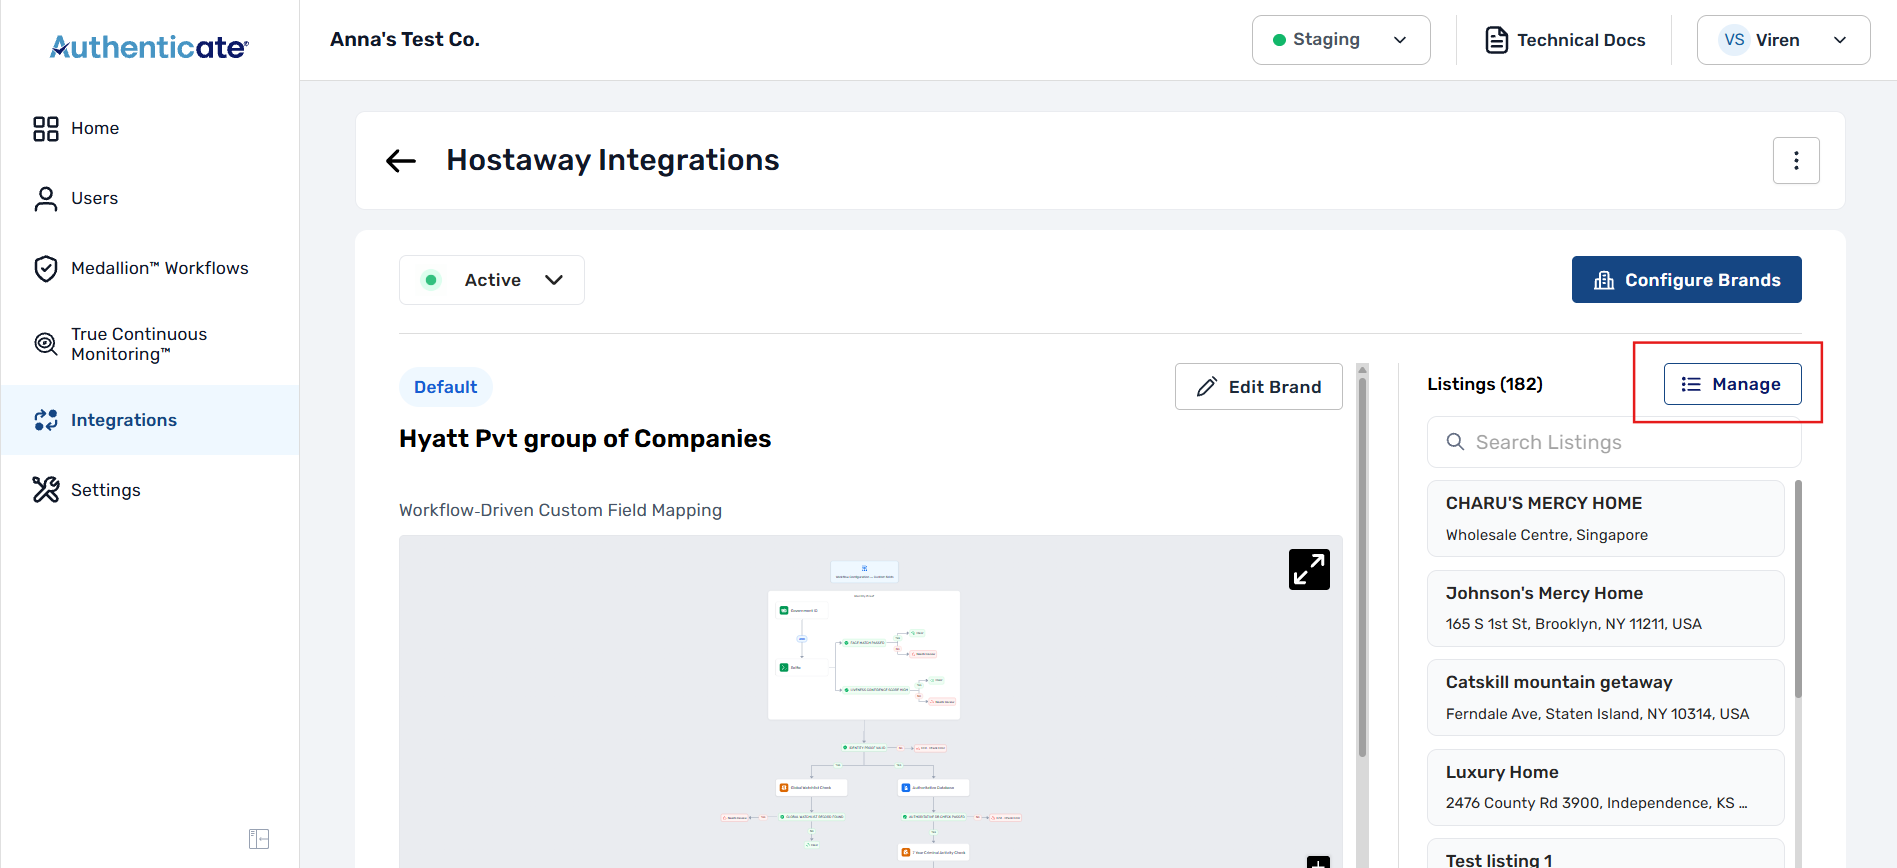
- Click the ⋮ button in the top right and choose Manage Listings, or click Manage next to the Listings heading on the same page.
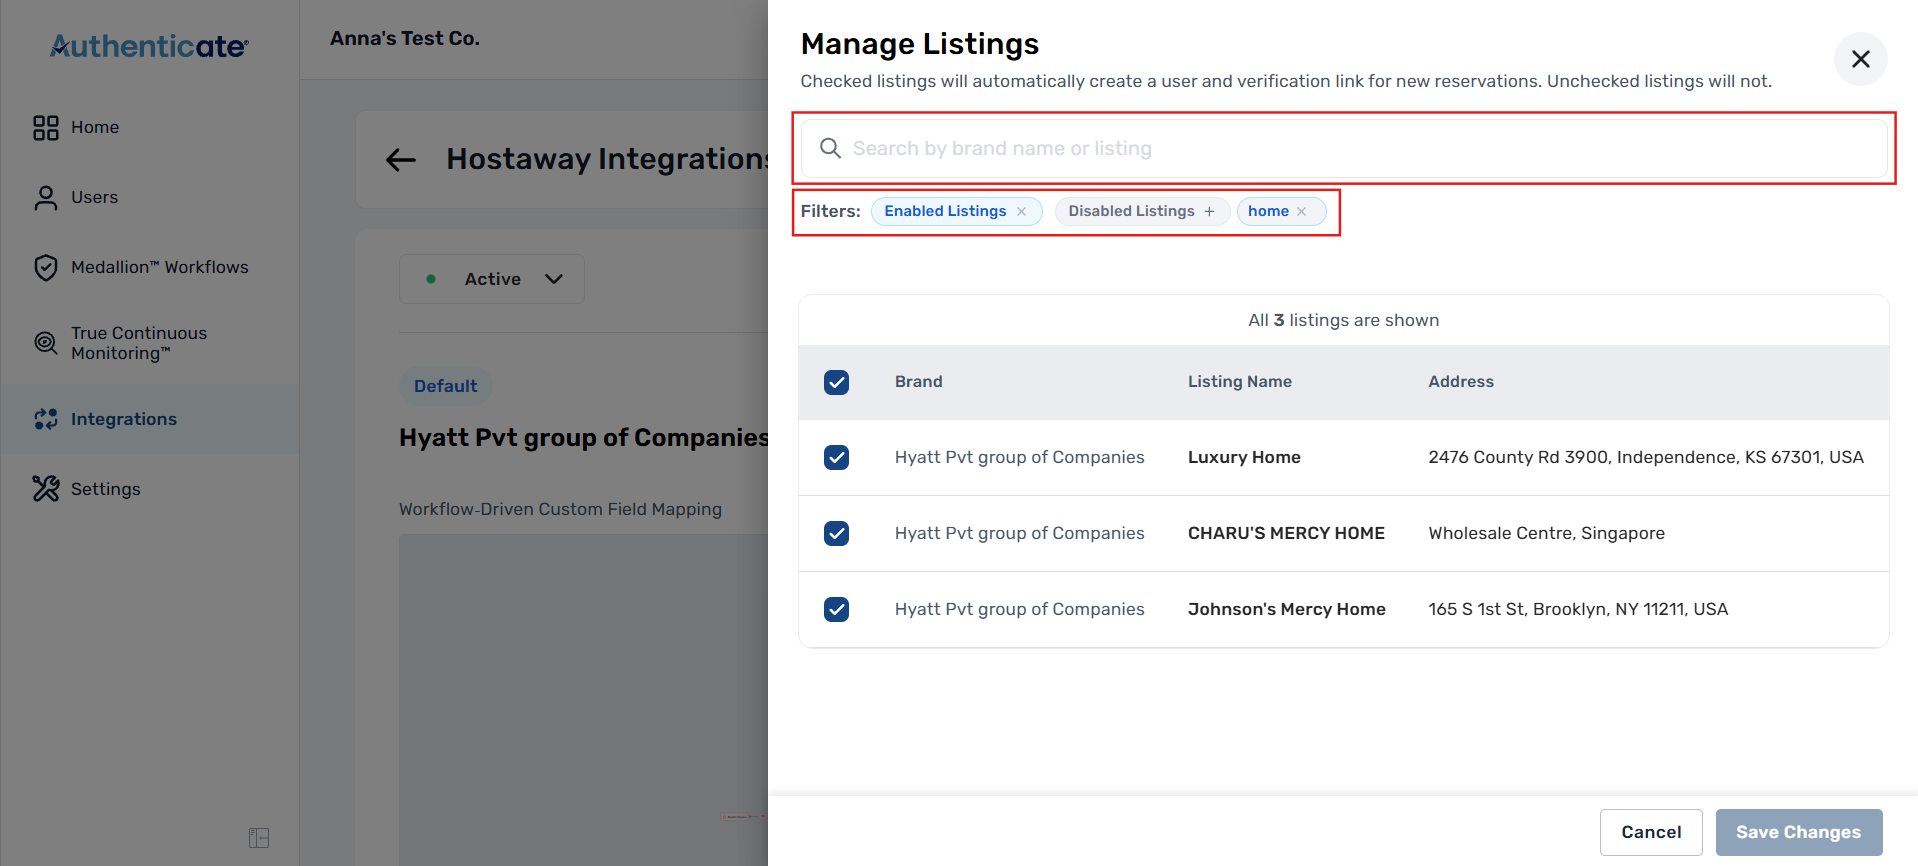
- The panel opens with your properties listed by Brand, Listing Name, and Address.
-
Search and Filter Listings
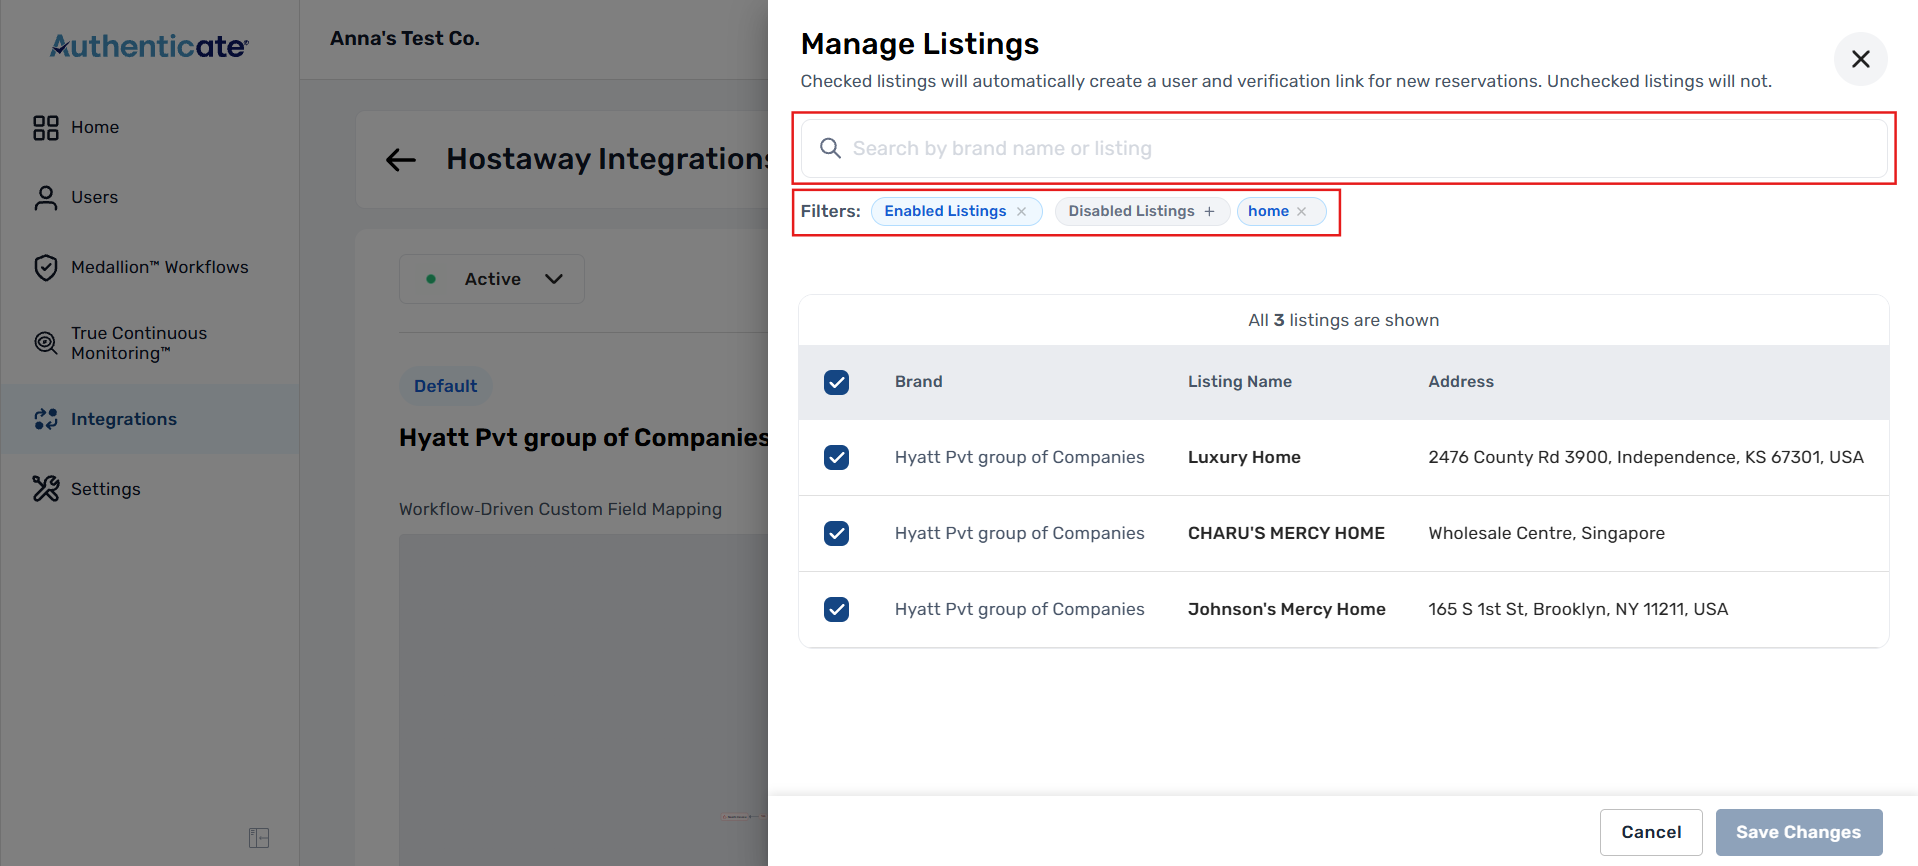
- Search by brand or listing name. Type a term, add a comma, and press Enter to search for more than one at a time; each becomes a removable tag.
- Use the Enabled Listings and Disabled Listings filters to show only properties that are screening guests or being skipped. Both are on by default.
-
Switch Properties On or Off
- Check a property to screen its guests. Uncheck it to skip them; disabled properties appear greyed out.
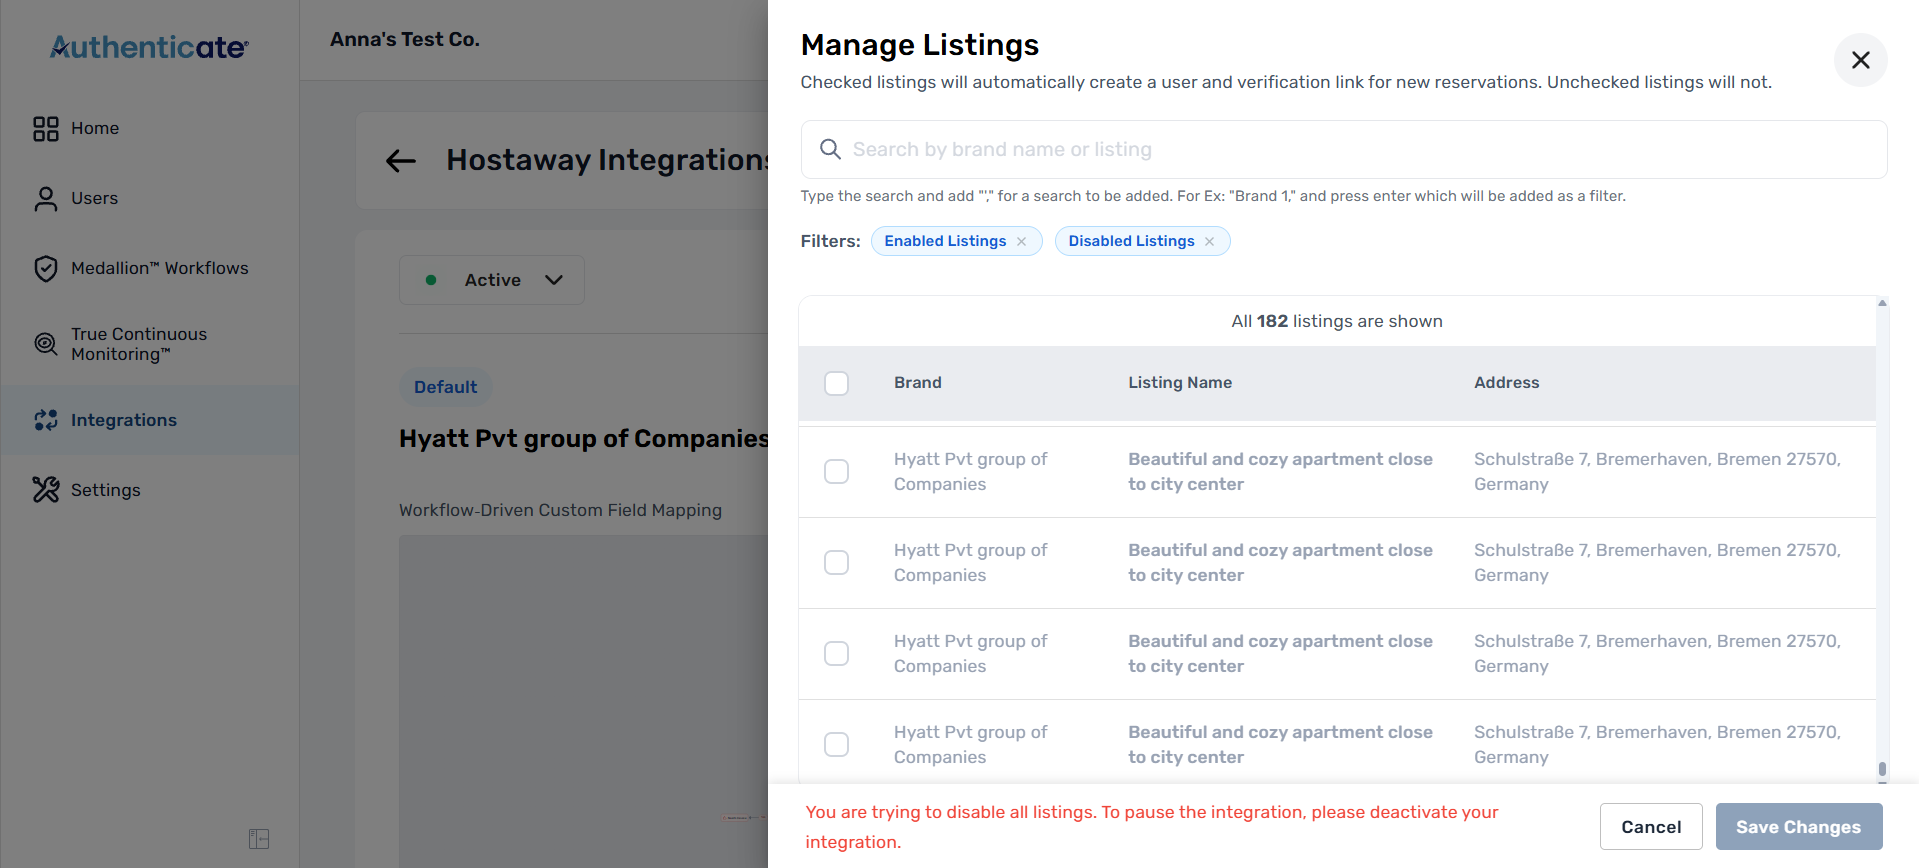
- Note: the checkbox in the header row only selects the properties currently loaded in the panel. On a large portfolio, scroll to the bottom first, or work through your list in groups using search and filters.
-
Save Your Changes
- Click Save Changes to apply your selection, or Cancel to discard it and close the panel.
Notes
- You can't disable every listing from here. If your changes would leave nothing enabled, you'll see: "You are trying to disable all listings. To pause the integration, please deactivate your integration." Turn a property back on, or deactivate the integration instead; from the integration page, click Active, choose Deactivate, and confirm. Your settings are kept for when you reactivate.
- Turning off both status filters returns an empty list with a "No Results found" message; turn one back on.
- Disabled properties still appear in the Listings panel on the integration page, greyed out with a Disabled tag.
- Manage Listings works together with Manage Booking Channels. A booking only gets a verification link if the property is enabled here and its channel is selected in Manage Booking Channels. If a guest didn't get a link, check that the integration is Active, the property is enabled here, and the channel is selected in Manage Booking Channels.
If you have questions or something isn't working as described here, open a support ticket and our team will help you out.